Random Number Generator Cells
Step 1: Create your key.
For this image, I assigned a nucleus shape to the numbers 1-6 (1 = circle, 2 = oval, 3 = triangle, 4 = square, 5 = pentagon, 6 = star) and the numbers 1-3 to the “style” of endoplasmic reticulum (1 = lines, 2 = squiggles, 3 = fragmented). The cell shape is determined by the number of “pseudopods” ranging from 3-8. And the number of mitochondria is also straightforward, ranging from 1-8.
Step 2: Set up your random number generator.
You could use an online random number generator, but you could also use a set of dice or a deck of cards. Or even a bunch of paper scraps with numbers written on them!
Step 3: Draw!
I like to draw the outline of each cell first before going in and adding the organelles. For this image I used paint markers that show up nicely on top of each other, but this project also works if you draw the outline of everything first and then use your random variable to determine the color of each structure.
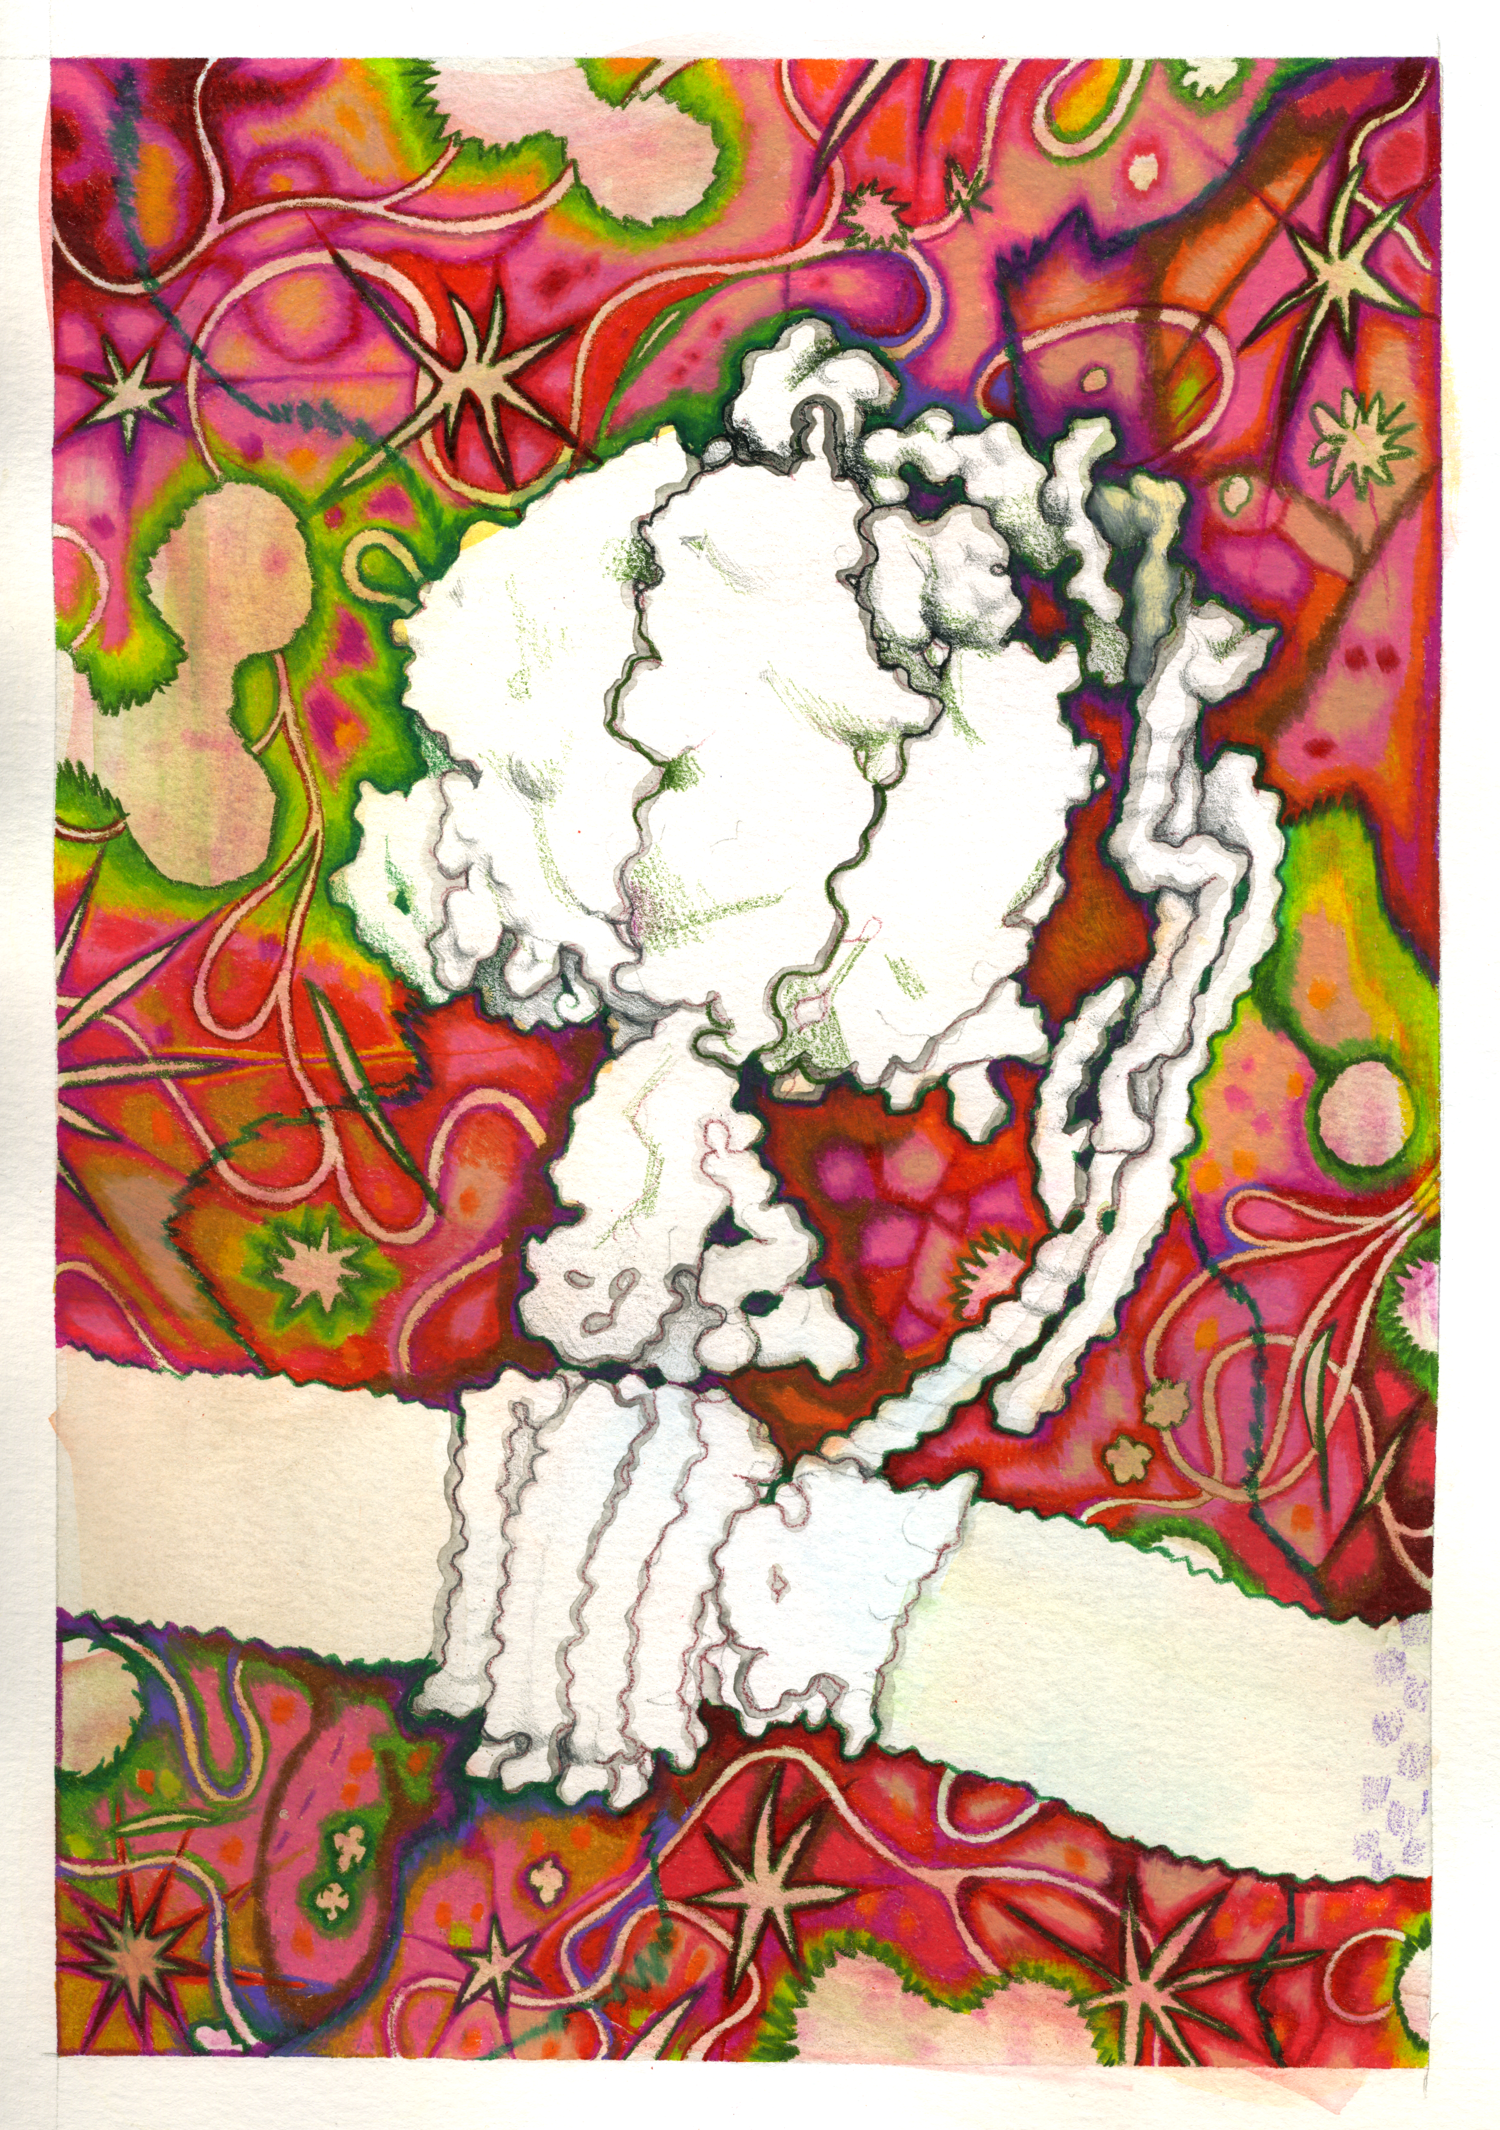
Protein transmutation
Step 1: Go to the protein data bank.
Step 2: Search for a protein of your choice!
Step 3: Take your pick from the search results.
Step 4: Open the 3D structure viewer.
This is a link toward the left side of the screen, underneath the protein visualization where it says “3D View: Structure”
Step 5: Play around with the view settings until you like what you see. Then, drag the protein around until it’s in a position you like.
Step 6: Take a screenshot and open it using your file viewer.
Step 7: Turn your tablet or computer’s brightness all the way up.
Step 8: Place a sheet of paper on the screen. You can use a gentle tape to hold the paper in place.
Step 9: Start tracing!
Step 10: Take the paper off of the screen and add your details.
Use whatever materials you have around. You could turn this into a collage, a painting, or a drawing. Don’t be afraid to use weird colors and to experiment. You can always trace the same screenshot again and try doing something new!
Still Life Drawing
Step 1: Choose your subject.
Look around you for anything that might be fun to draw (plants, tools, kitchen gadgets…). You can create a composition by arranging multiple objects and even laying down some fabric.
Step 2: Choose your materials.
Anything can work here — markers, pencil, paint, crayons — experiment!
Step 3: Draw what you see.
Place your paper close to your subject so that you can quickly look back and forth between your drawing and the set-up. Still lives are an excellent way to practice your drawing skills and to train your eyes and hand to communicate with each other.
Blind Contour Drawings
Step 1: Choose your subject.
Often, I will draw blind contours of faces because I think they turn out really silly, but you could pick anything! Some choices are: a building, your lunch, or a shoe.
Step 2: Choose your materials.
These are really fun to do with a large black sharpie! I usually will use a marker or a pen. The idea here is to not be afraid of making bold marks.
Step 3: Draw what you see WITHOUT looking at your drawing.
Try your best to draw what you see without picking up your pen or looking at what you are drawing. This is a fun exercise to train communication between your eye and your hand and they are pretty much guaranteed to turn out weird, so have some fun!


